The 411

My photo
Wife and mother of 3 boys and twin girls who I often refer to as my "Twincess". Having twins initially broke me physically and financially!! One day I "woke up looked in the mirror at the spit up and frazzled hair and remembered IM A DIVA DARNIT!!! So my adventure has begun living the high life on a budget!! Welcome to my journey......
Showing posts with label D.I.Y.. Show all posts

Sunday, July 21, 2013

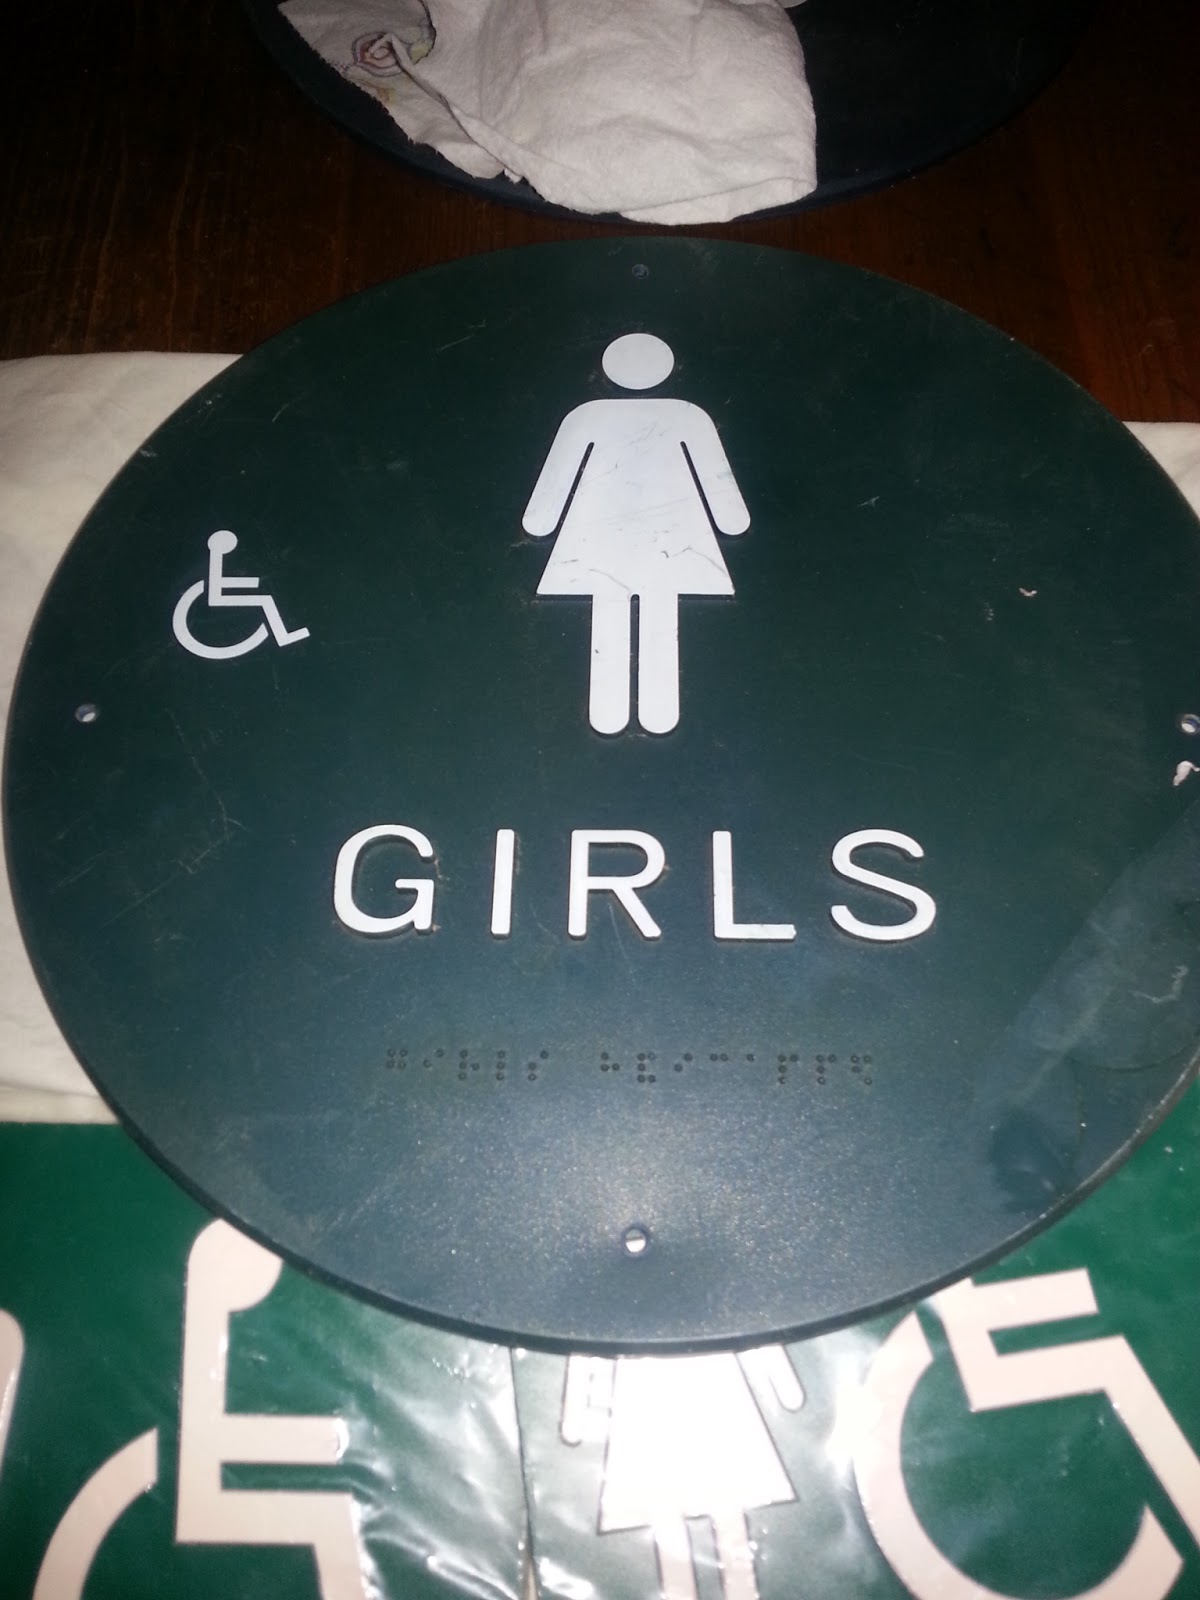
Latest Habitat for Humanity find.


I wasn't going to post this until I was ready to unveil my twins finished room  but I was happy with how it turned out, and hey I cant hold water. lol
These are some things one may see at a thrift store, garage sale or estate sale and past by it. I saw these signs and it immediately reminded me of elementary school! . I got 4 signs for .90 so I couldn't pass them up,


This is where it all went bad, my inquisitive twin got a hold of the paint and got it everywhere!!!!

But I recovered the sign and repainted it  I think ill paint with a clear coat to cover imperfections.. Above you see a "rag swag" I made out of old diaper covers
 (see below) 


I just got these from an antique store yay

I need to add a hot pink element to tie all the colors in.

Thursday, July 4, 2013

DIT Divas in Training DIY Cornices!!

Yes I tackled the girls room first. It was easiest lol. I have had my eyes on these bed crowns however they were around $200 to $500 each. I was thinking about a way i could buy them with out my hubby knowing .... lol (hey don't act like I'm the only one who does it! men do it to HA!) Then I remembered the cost of the twins daycare and heard a song in my head "I AIN'T GONNA BE ABLE TO DO IT" lol so naturally I remembered one of my many sayings: "A tight wallet and laziness is the father to all great crafts, ideas and inventions". So here is my DIY Cornice bed crowns:

Here's my finished product. I bought the headboards off craigslist for $40

 Foam board display from  $9, batting $3 and duct tape $2.50. Measure your windows or headboard. allow a half of an inch oneach side for windows. Next cut two pieces for the sides like 3 inches.
I made my own protractor with a pencil tied to a pencil to draw semicircles, but you can use a large bowl. Cut the shape with an exacto knife.

You can use spray adhesive or regular glue to hold the batting in place while you cut the excess


I already had fabric that I bought from Goodwill during a 50% off sale, $1.50 cant beat that. I also bought 7 fuchsia sheer panels for $2.99 each  From a store called FALLA about a year ago.


After I finished cutting the batting I covered it with the fabric and taped with duct tape.

Not pretty but who will know??

Then I added some cheap hooks

Final , the letters are from the 99 cent store. They were white but I stenciled them.

Family Pride!!

I saw on a blog that I can go to Home Depot and they can cut any wood or molding I purchase there free, I have been there like every other day! HA ! So here is my first craft at the new diggs. I first saw it here www.shanty-2-chic.com/2013/03/free-printable-letters-numbers.html and knew I had to do it!! The Shanty Sisters make it easy as pie. I changed a few things but the ideas all theres.

 I went to Home Depot and asked them for a 1x12. I admitted to the nice associate that I don't know how many I would need but I need 8 pieces at 9 in each lol. He chuckled and took over from there. "I'm sorry sir I'm a diva in distress please help little old me" ! As I bat my lashes lmbo.


"Oops paint, yes .50 ill take it.


 Roller 1.50. Pay no attention to my crafters nails...


I also painted the sides and screwed in screw eye hooks in the top.

WAL LAH! The Shanty Sisters seem more finished but mine still looks great don't ya think!?? I finished at around $13

Saturday, April 13, 2013

Adding Interest To Our Entry

Hello, my sis in law has been telling me I need to post pictures of my hall way transformation so here it goes Les. 

My entry way is an on going project for me. I feel this needs to be the  most dramatic since its the first thing that guest see and to some the the only thing lol. But I have been stumped , my entry way is hmmm how can I say this ..... Like some people we know, not naturally fabulous, I need to apply a lot of "make up" to get it there lmbo. 

 I did decide to paint the hallway that you see with stripes. 

When doing and detail using painters tape it's very important to do it right or it will "bleed" through the tape. 
Here's the trick: take the base color (the color that was originally on the wall) after taping your stripes or detail, and paint over the top of the tape. Let the paint dry and then paint your stripes. 

Here's how it turned out:
And here it is with pictures. I haven't put pictures in the frames yet lol . I Wanted to see how it looked
Here are some more pictures of the entry. You'll see why I'm a little stumped. I want to do something big and dramatic on the stairs since the ceilings so high. (I know they need to be painted lol) I also need to figure out where I can put a bench or something to hold shoes since the stairs become a catch all and there's no room by the door. I'll keep you posted on what I come up with. Youll see the lonely picture I bought but has no home on the stairs. 
I think I want to do something cool with pallets and I also need to add some color. 


Sunday, March 31, 2013

Ikea Lack Side Table To Ottoman

First official post! You will find as we get further in our journey together that I am a "semi-homemade kinda gal, so places like Ikea are my friend.

Here's what I used 
Lack side table from Ikea $7.99
One yard of faux leather fabric from Walmart $8 and some change
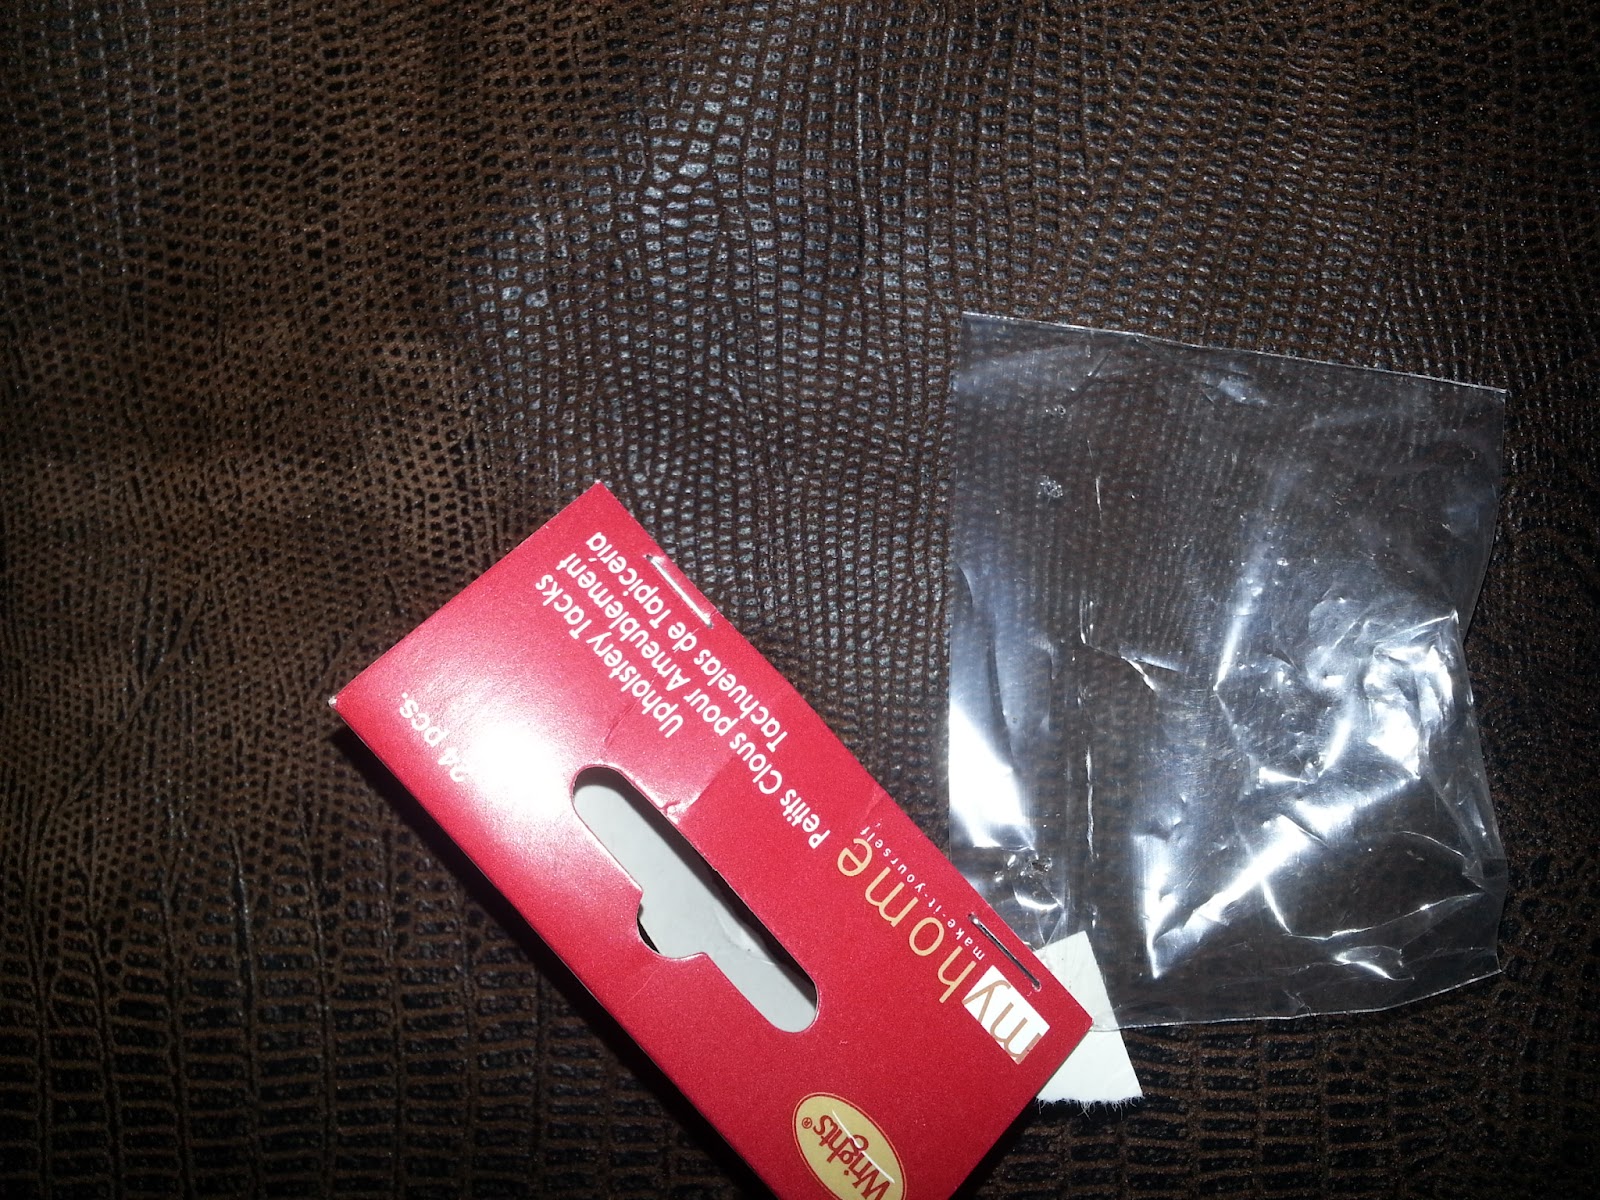
Carpenter tacks from Walmart they were like 1.60 not over $2 I used 3 packages
Staple gun
Cheap pillow or use an old one around the house free!

(as I'm adding this first post I have one twin "brushing my hair" she's really just striking me in the back of the head with the brush, and one climbing me like a jungle gym, and my son asking me millions of questions it's clear I'll need to set some boundaries )


Let's start by saying I never take measurements I "eye ball " everything which is horrible!! So if you measure lol measure the top of the table and then the sides and add an inch more.

Then cut open your pillows case. Mine was wonderful it was batting that was rolled like a cinnamon roll. I unrolled and put on top of table and cut. You can use a spray adhesive to attach the batting to the table

I found that it is easier to screw the legs off when trying to staple the fabric on lol. Should have been common sense!! Ha! Gotta learn to laugh at your self it burns calories .

Pull fabric tight and staple all around the bottom so they won't show. I had to use a hammer to puts them all the way in so they wouldn't scrap little bodies.

It is Important to leave the area where the leg screws in clear or it either won't screw all the way in or the table/ottoman will be lopsided and wiggle.
Here is a close up of the fabric and the tacks